I made a new blog because I wasn't really writing here so I decided to make another one, also because I'm doing a little bit different make-up looks than usual :)
http://bulletproofheartbykl.blogspot.com/
I hope you'll like it :)
Let me know if I should make a Facebook/Twitter page to follow me easier :)
Love you, KL <3
31 Aug 2012

17 Jan 2012
NOTD- Spring is in me all the time :)
This is my first nail of the day :P I don't usually do something special to my nails because I'm tooo lazy :@ but when I get inspiration the sky is the limit :D

In this nail art I use a yellow nail pollish and nail tatoo :D And with a white and red one I made polka dots to make it more spring like ^^ Applying nail tatoos is the easiest thing, you apply it just like a regular non-permanent one and secure it with clear pollish :)))
Hope you like it^^ <3

Hope you like it^^ <3
10 Jan 2012
DIY decorating storage boxes ^^
I was home alone the whole day and pretty nervous because all my jewellery is everywhere in my room. As a teenager I don't have lots of money to buy myself something to storage it so I decided to take what I have and decorate my own storage boxes. It's easy and it can be a cool accessories to your room :)
What you need is:
1. scissors
2. glue
3. magazine covers or pages
4. boxes from your phone, mp4 player etc.


What you need is:
1. scissors
2. glue
3. magazine covers or pages
4. boxes from your phone, mp4 player etc.

So the next part is simple. You just wrap and stick the cover to your box like you're wrapping a Christmas present :D The edges will look weird a bit so stick them with glue in the inner part of the box so it looks like it's the box's cover. Also if you want to, you can cut out letters from magazines and stick them on the box like " bracelets " or " earings " so you know what's in them.
My final result:


Hope you guys like it, I will do more DIY mini projects ^^
Love, Kaja xx
9 Jan 2012
2012 is for dreams :))
http://www.youtube.com/watch?v=y5HA-QFLJzg
A perfect song for a fresh new start.
This is a short post, well depends on how much inspiration I will have :D
In the past times, I've been not posting anything. A bit of laziness and a broken leg so I wasn't in a mood to post.
Now, I'm finnally taking this seriously. I hope so :P
I will post a lot more about everything, not just make-up. Maybe also short stories I've been writing when I couldn't sleep.
Have a nice day/night. Stay beautiful :)
Love Kaja, still a RedMonster xx
28 Oct 2011
My collection of looks :)
First, I want to apologize I was not doing any tutorials. School started and I couldn't find any time to do something. In this post, I wanted to show you a little collection of my looks. I might make tutorials, this time, I promise I will :D Hope you like it^^


RedMonster xx
p.s. For are the Echelons out there, you can follow me on Twitter :) @KajaEchelon1
31 Aug 2011
.rock on :)
First sorry for not being a while here, I was just enjoying the rest of the summer:D I promise you to post more ^^ Today's tutorial is a look that's sort of rock one :D I had trouble with the eyeliner again, and with the camera. It looks more intenzive in real life. I hope you still will enjoy it.:)
Let's start:
1. Fill in your brows and apply a beige base to the lid.

2. Then apply a light purple color to the crease and blend it.


4. Now take a soft eyeliner and line your eyes. Set it with black eyeshadow so it lasts longer.(my eyeliner pencil broke right here -.-'')


5. At the end, highlight, apply few coats of mascara. The lips could almost any color (anything nude,bright pink,dark purple or pink,but not red ones or dark brown). And we've finished it ^^
Final result:

I wore this look for a long time and I had a bit problems with the eyeliner on the bottom eyelid. Try to use waterproof make-up or you end up looking like a racoon.:D
RedMonsterxx
Let's start:
1. Fill in your brows and apply a beige base to the lid.
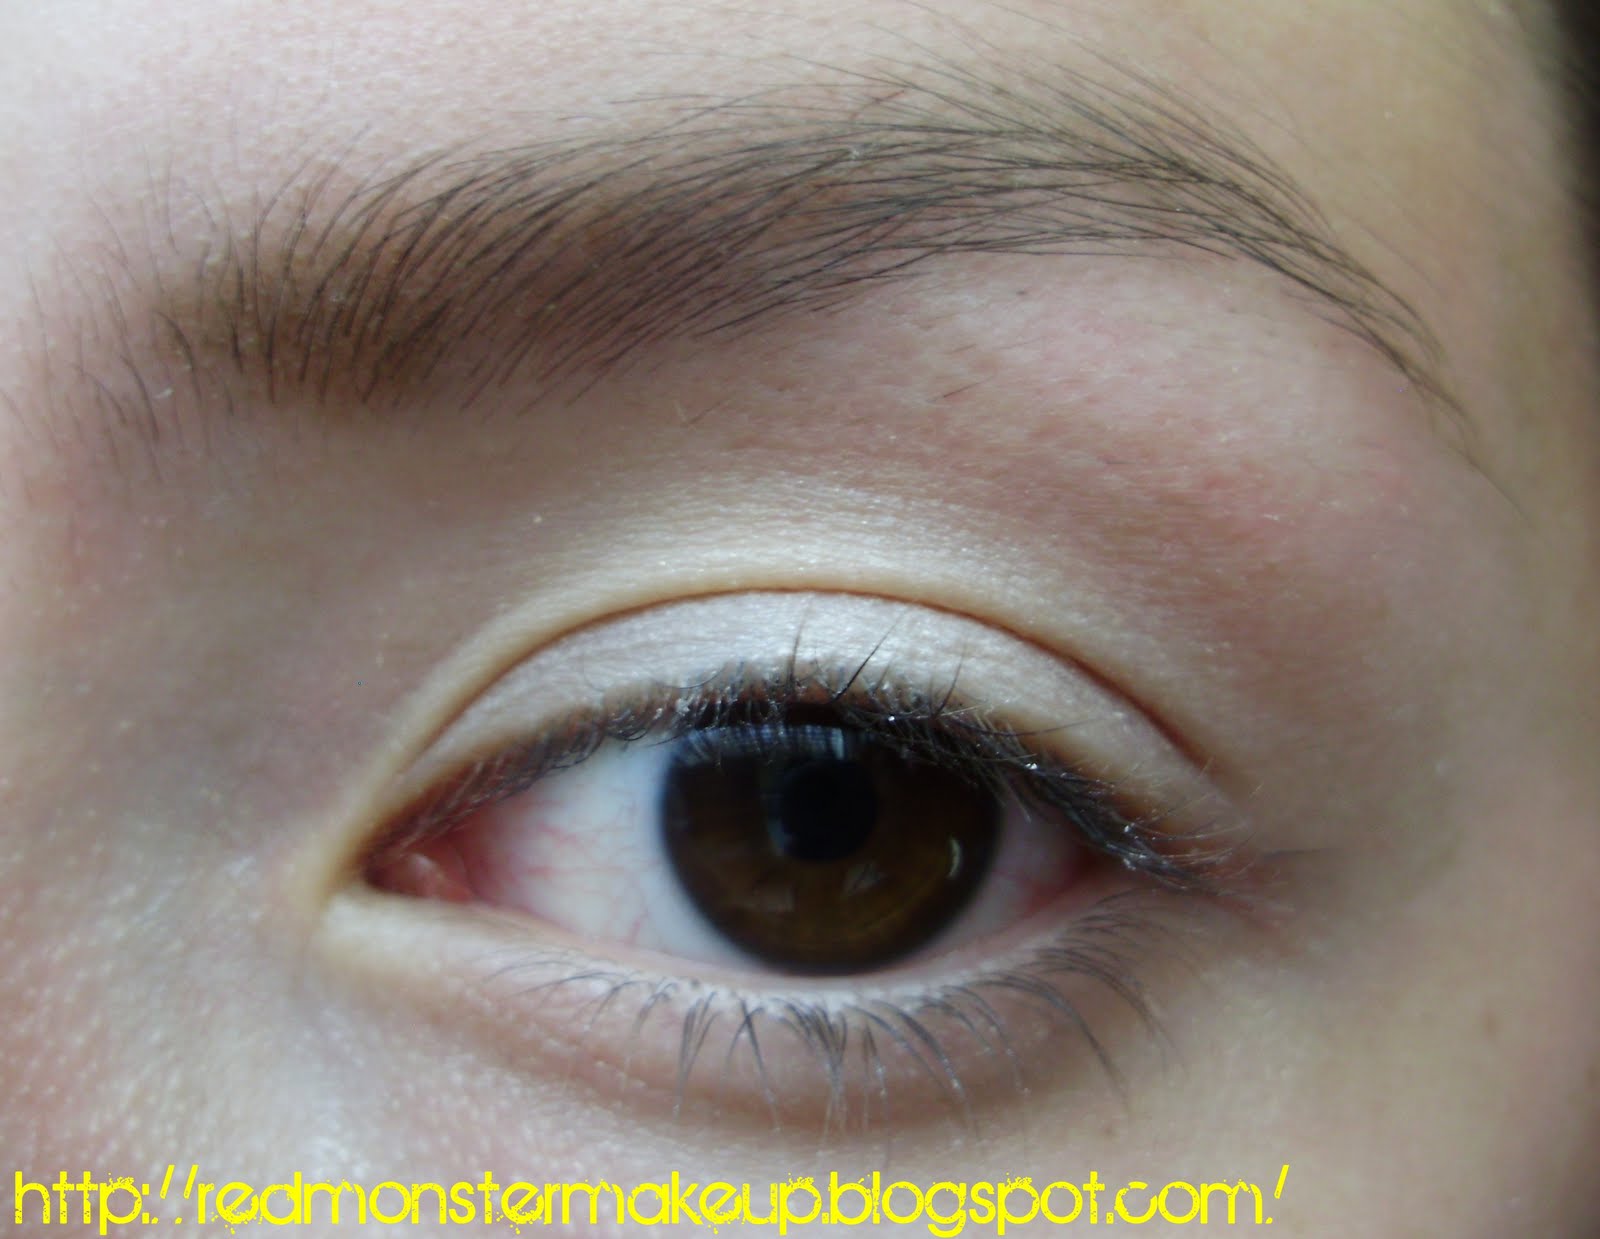

3. The go over the light purple with a darker one mixed with black eyeshadow and blend it. Do not apply any eyeshadow to the lid.

4. Now take a soft eyeliner and line your eyes. Set it with black eyeshadow so it lasts longer.(my eyeliner pencil broke right here -.-'')


5. At the end, highlight, apply few coats of mascara. The lips could almost any color (anything nude,bright pink,dark purple or pink,but not red ones or dark brown). And we've finished it ^^
Final result:

I wore this look for a long time and I had a bit problems with the eyeliner on the bottom eyelid. Try to use waterproof make-up or you end up looking like a racoon.:D
RedMonsterxx
23 Aug 2011
summer blues :)
Summer is almost over, but we still can use bright colors which are very popular this season. :D


Highlight under your browbone, inner corners, put mascara and you're done.:) Because I've set the liner with powder it stayed the whole night. And I was dancing and stuff.:D This look is best for brown eyes. A purple look would suit blue eyes best, and brown for green :) For the lips I used a bright pink lipstick (forgot to take a picture :S ) but a nude one will be ok :D
Final result:

Enjoy the rest of the summer, I know I'm not writting so often but I sure will :):)
Let's get this started: ( this is also very easy tutorial, just wanted to show you how just one color can make you gorgeous :) )
1. Just use a soft, creamy eye-pencil. :D Line your eyes and make a little wing like cat-eye effect.
Then set it with a blue eyeshadow ( or any color you're using). For a better effect I lined the outer corner with black gel liner.


Final result:

RedMonster xx
16 Aug 2011
purple again :))
In my make-up bag are mostly purple eyeshadows :D I made a look that will suit brown eyes best and really make them pop ^_^ hope you like it :)
*some of the pictures might be not so good. :/
1. First apply a light purple cream base on your lid.


3. Now use a more deep purple color ( it is more vibrant than on the picture) and blend it together. Blend it like you would do any other shadow.


*some of the pictures might be not so good. :/
1. First apply a light purple cream base on your lid.
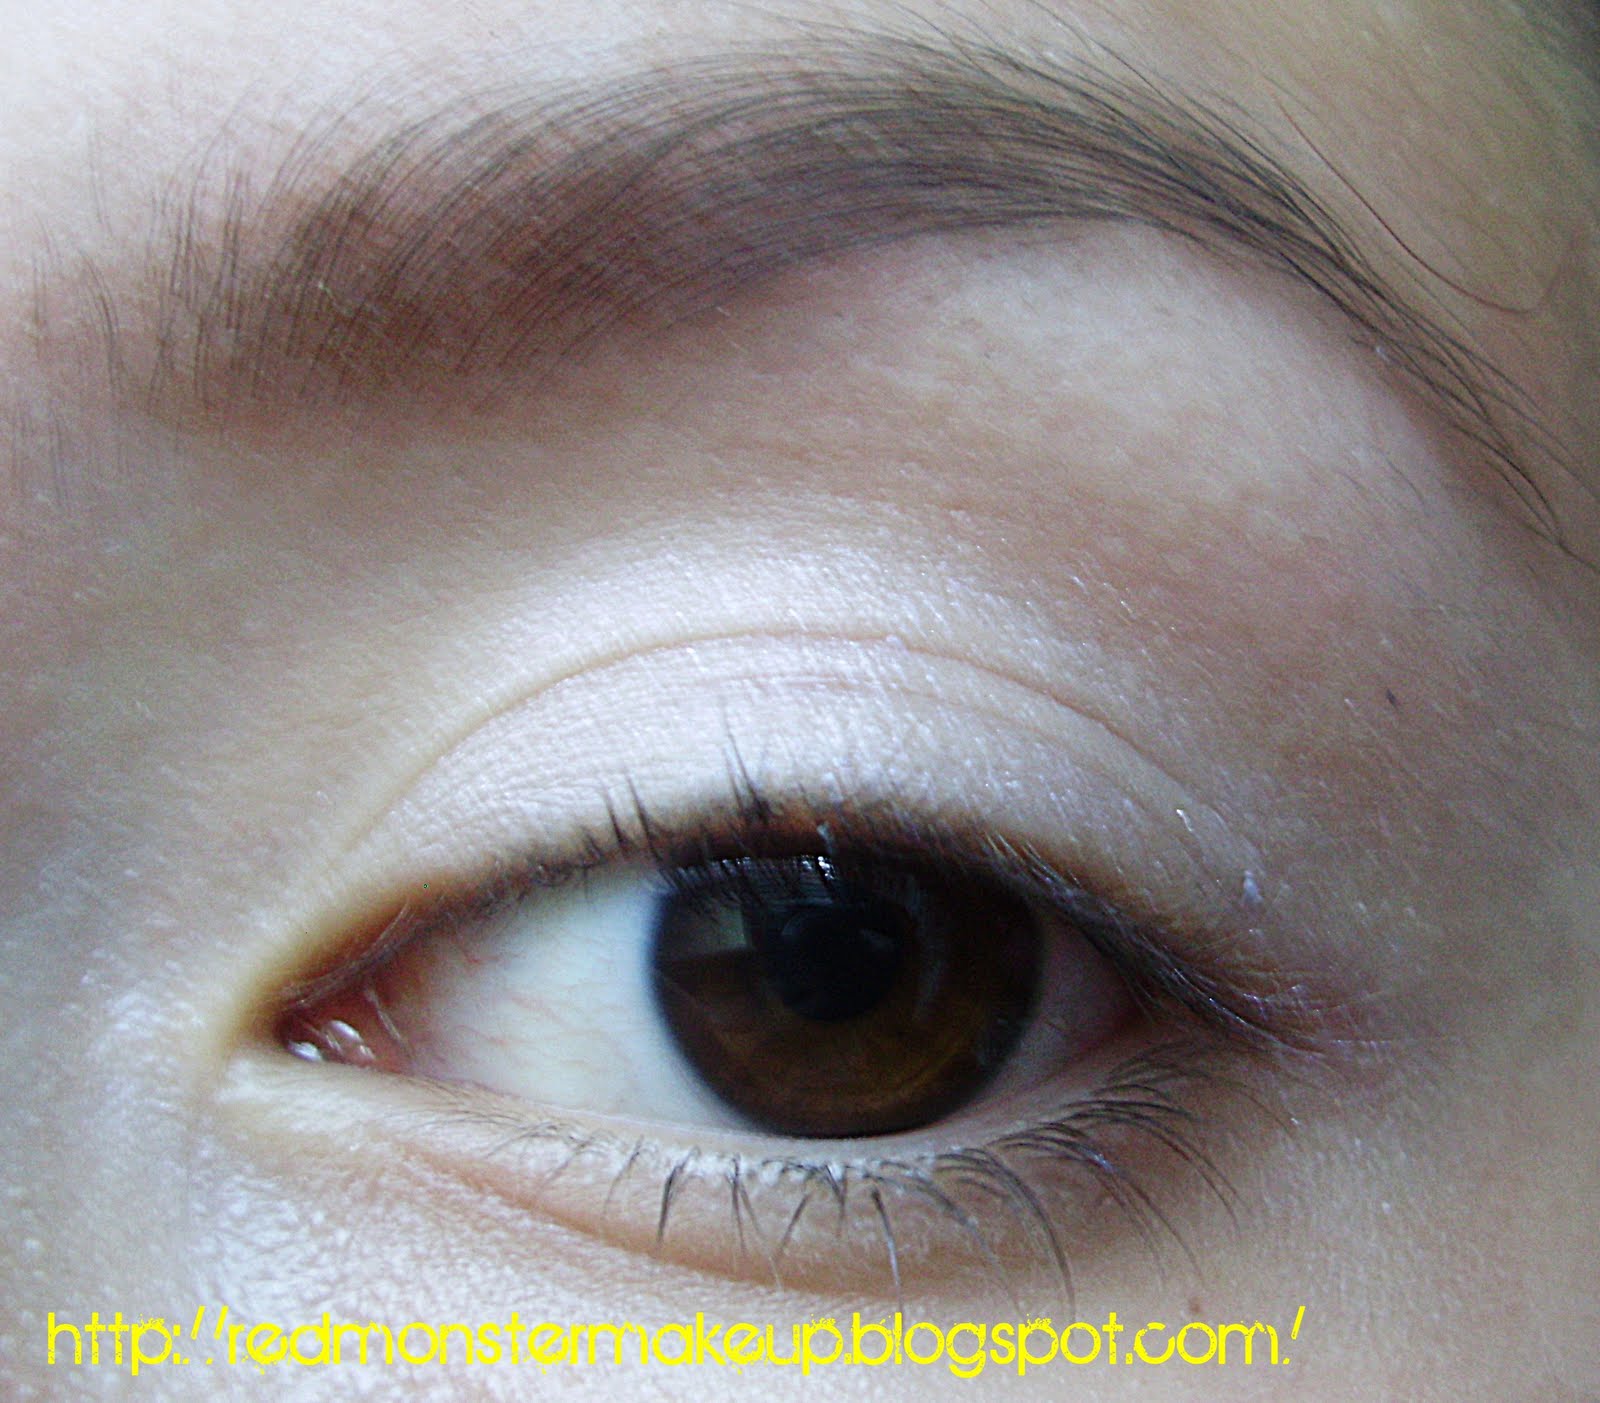
2. Then apply a lilac eyeshadow over the base you've applyed before. Blend the edges. Also highligt your browbone and the inner corners with white eyeshadow :)


4. Take the same deep purple eyeshadow and apply it on your lower lashline. Take a silver eyeshadow and apply it in the inner corners and apply just a tiny bit on your lid to make it more dramatic. Take a glitter eyeliner and line your eyes.

5. At the end curl your lashes, apply mascara (false lashes optional). For the cheeks use bronzer (best for summer) and for lips a nice nude or pink lipgloss. And that's it :D

*Instead of a black liner I applyed the white one.It's your choice witch one you will use*
Final result:

This is a nice look for summer. You just need to be carefull so you don't look like someone punched you in your face :O just kidding, it's easy to fix that. Just take make-up remover and remove what's too much.
RedMonster xx
8 Aug 2011
quick&simple :)
I love working with eyeliners, in the summer the most. It's simple, clean and for any occassion.

2. Now we're going to give some dept to the crease. Apply a mat light brown eyeshadow and blend. It will appear more shimmery because of the base.

3. The most difficult part for me is the liner. I prefer to use the gel one, but I use these tricks when i use the liquid one: 1) With an angled brush or a flat one apply black shadow as you would do the liner. Now go over with the liquid liner little by little. If you make any mistakes when you do the winged eyeliner use a q tip with eye make-up remover and clean the mistakes :)


Because the eyes are simple, you can work more with your lips.
Hope you like it :)
1. Apply a shimmery cream base on your lid. Set it with a neutral eyeshadow. Do your brows as you usually do.

2. Now we're going to give some dept to the crease. Apply a mat light brown eyeshadow and blend. It will appear more shimmery because of the base.

3. The most difficult part for me is the liner. I prefer to use the gel one, but I use these tricks when i use the liquid one: 1) With an angled brush or a flat one apply black shadow as you would do the liner. Now go over with the liquid liner little by little. If you make any mistakes when you do the winged eyeliner use a q tip with eye make-up remover and clean the mistakes :)

At the end apply maskara, false lashes ( I don't have one :$). Highlight under you browbone and the inner corners. Play with the lip color, you can do red,
bright pink or leave it neutral :D
Final result:

I also applied white eyeliner on the waterline, but what you'll use is your choice :)
RedMonster xx
1 Aug 2011
Gold rush :)
Well, I'm crazy about golds and browns when I do my eye make-up. :D My brown eyes really pop with that kind of looks. I'll share to you one of my all time favourites.
Gold suites all eye colors nice. It just depends about the color you are using it with. I prefer with brown eyeshadow altough I've seen with pinks&purples. Strange but I think nice :D
so let's start with the tutorial :D
1. First apply a gold cream base on your eyelid. Blend it well.


Now for the face apply a bit of bronzer and for the lips a pink lipgloss..:) see you in my next post!
Products used:
- Avon gold cream eyeshadow ( the name rubbed off :( )
- essence sun club bronze and blush - brunettes,darker skin
- essence pocket beauty palette in 01 eye love to travel
- Max Factor false lash effect in black
- essence stay with me lipgloss in 02 my favourite milkshake
RedMonster xx
Gold suites all eye colors nice. It just depends about the color you are using it with. I prefer with brown eyeshadow altough I've seen with pinks&purples. Strange but I think nice :D
so let's start with the tutorial :D
1. First apply a gold cream base on your eyelid. Blend it well.

2. Then add a gold eyeshadow. I used a bronzer (I'll list products at the end). Add a white highlight into your inner corners and under your browbone.

3. I mixed a matt brown and a matt black eyeshadow to make it more glamorous. Apply it to your outer "v" and blend, blend, blend. :DD

3. At the end, apply the black eyeshadow under your eyes, line them with black liner and add mascara ( false lashes are optional ). And that's it :D

Final result:

Products used:
- Avon gold cream eyeshadow ( the name rubbed off :( )
- essence sun club bronze and blush - brunettes,darker skin
- essence pocket beauty palette in 01 eye love to travel
- Max Factor false lash effect in black
- essence stay with me lipgloss in 02 my favourite milkshake
RedMonster xx
27 Jul 2011
Lady GaGa inspired :) part 1.
Today's look is a Lady Gaga inspired one. It's a simple look, wearable, but the lashes are quite glamorous. Next time I'll do a more non-wearable one :D

Let's start :D
1. Fill in your brows with a black eyeshadow ( we are recreating it from the picture, but if you want to wear it for a night out etc. use a shadow that's your shade ). For a base apply a blue/white pencil. Blend it out.


Let's start :D
1. Fill in your brows with a black eyeshadow ( we are recreating it from the picture, but if you want to wear it for a night out etc. use a shadow that's your shade ). For a base apply a blue/white pencil. Blend it out.

2. Now pack the blue eyeshadow on the lid with a wet brush. Blend the edges.

3. Take a blending brush and a darker blue eyeshadow and put it into the crease. Highlight the browbone and inner corners with a white eyeshadow. Apply a rosey/orangey color under your eyes.

4. Apply a white eyeliner on your waterline. Line your upper lashline and under your eyes with a black liner. Add mascara and false lashes. ( I don't have them so I just put the mascara, and for fun draw a mole :D)

For the lips, just put a nude lipstick on. Add some bronzer and peach blush and you're done!
Final result:

I personaly LOVE Lady Gaga, her songs and make-up. :D Hope you've enjoyed, see you soon :)
25 Jul 2011
essence color&go - review and swatches :)
essence is a drugstore brand that I'm very satisfied with. The quality of products is not always good, but for my low budget it's quite ok. Here are some swatches of nailpolishes I love and I mostly use on my nails :)
First, it says quick drying. I can't tell it's drying so quick. And for some colors, you'll need 2 coats to get the perfect intensity. They last long, up to 5 days, and if you put a base and top coat it lasts even longer. A quick advice, try to use plastic glowes when you clean your house or wash dishes. :)
NOTE: This is not a sponsored post and the opinion about this product is mine and mine only.
Here are the shades that im really in love with:

1.) 43 where is the party?
This is a kind of interesting shade :D It's a deep violet color with blue(ish) and green(ish) reflections in it. I applied 2 coats to get the deep color of it.
 2.) 36 enchanted fairy
This is my favourite shade of all times. It's a paslety, milky pink with silver reflections in it. You can't actually see them, because they are so fine. On the photo 2 coats.

3.) 38 choose me!
Another favourite color of mine. A blue color with gold and blue sparkles in it. 2 coats for the perfect intensity. When it's dry it has that high gloss finish and a smooth surface.

4.) 10 ready for action
A true, bright red color perfect for summer. A glossy finish, 2 coats needed. Like it!
 At the end, the price. Well it depends on in which you buy it. I paid about 12 HRK. I really don't know how much you will find it :D
Do you like essence? Which colors are your favourites?
RedMonster xx
First, it says quick drying. I can't tell it's drying so quick. And for some colors, you'll need 2 coats to get the perfect intensity. They last long, up to 5 days, and if you put a base and top coat it lasts even longer. A quick advice, try to use plastic glowes when you clean your house or wash dishes. :)
NOTE: This is not a sponsored post and the opinion about this product is mine and mine only.
Here are the shades that im really in love with:

1.) 43 where is the party?
This is a kind of interesting shade :D It's a deep violet color with blue(ish) and green(ish) reflections in it. I applied 2 coats to get the deep color of it.

This is my favourite shade of all times. It's a paslety, milky pink with silver reflections in it. You can't actually see them, because they are so fine. On the photo 2 coats.

3.) 38 choose me!
Another favourite color of mine. A blue color with gold and blue sparkles in it. 2 coats for the perfect intensity. When it's dry it has that high gloss finish and a smooth surface.

4.) 10 ready for action
A true, bright red color perfect for summer. A glossy finish, 2 coats needed. Like it!

Do you like essence? Which colors are your favourites?
RedMonster xx
23 Jul 2011
Turquoise me :)
Here's another bright summer look. First sorry for the pictures, it was a rainy day so the colors are not as bright as I wanted. But still I think the pictures are ok. :)) Also, I've done this tutorial with an essence palette so I'll post pictures of colors I've used. It will be easier for you to see and use similar colors. Hope you'll like it ;)
Here we go :
1. Apply a cream bronze base for the eyeshadow. I used the one from an Avon palette, but the name rubbed off so I can't tell you it's name. Shape your brows as usual.

2. Here's the palette, it's the essence quattro palette in o1 ciao bella ( sorry but it might be not available anymore, I'm not sure)

Take the color 1 and place it in the inner half of your eye. With the same color highlight under your browbone. Then take the color 2 and place it in the outer half of your eye. Blend this two colors together.

3. Then use the color 3 and blend it into the crease and a bit under your eyes. This will contour your eyes and give it depth.


6. Finish off with mascara ( I used Max Factor False Lash Effect in black) and put a nude lipgloss ( essence xxxl nudes in 02 light candy)

Final result:

And this is it. Comment if you like it. See you in my next post.
RedMonster xx
Here we go :
1. Apply a cream bronze base for the eyeshadow. I used the one from an Avon palette, but the name rubbed off so I can't tell you it's name. Shape your brows as usual.

2. Here's the palette, it's the essence quattro palette in o1 ciao bella ( sorry but it might be not available anymore, I'm not sure)

Take the color 1 and place it in the inner half of your eye. With the same color highlight under your browbone. Then take the color 2 and place it in the outer half of your eye. Blend this two colors together.

3. Then use the color 3 and blend it into the crease and a bit under your eyes. This will contour your eyes and give it depth.

4. Here's the bight part.:D Take a turquise color and apply it under your eyes over the bronze color we've put before. Line just a quarter of your waterline with black liner. Your eyes willa appear rounder.

6. Finish off with mascara ( I used Max Factor False Lash Effect in black) and put a nude lipgloss ( essence xxxl nudes in 02 light candy)

Final result:

And this is it. Comment if you like it. See you in my next post.
RedMonster xx
Subscribe to:
Posts (Atom)